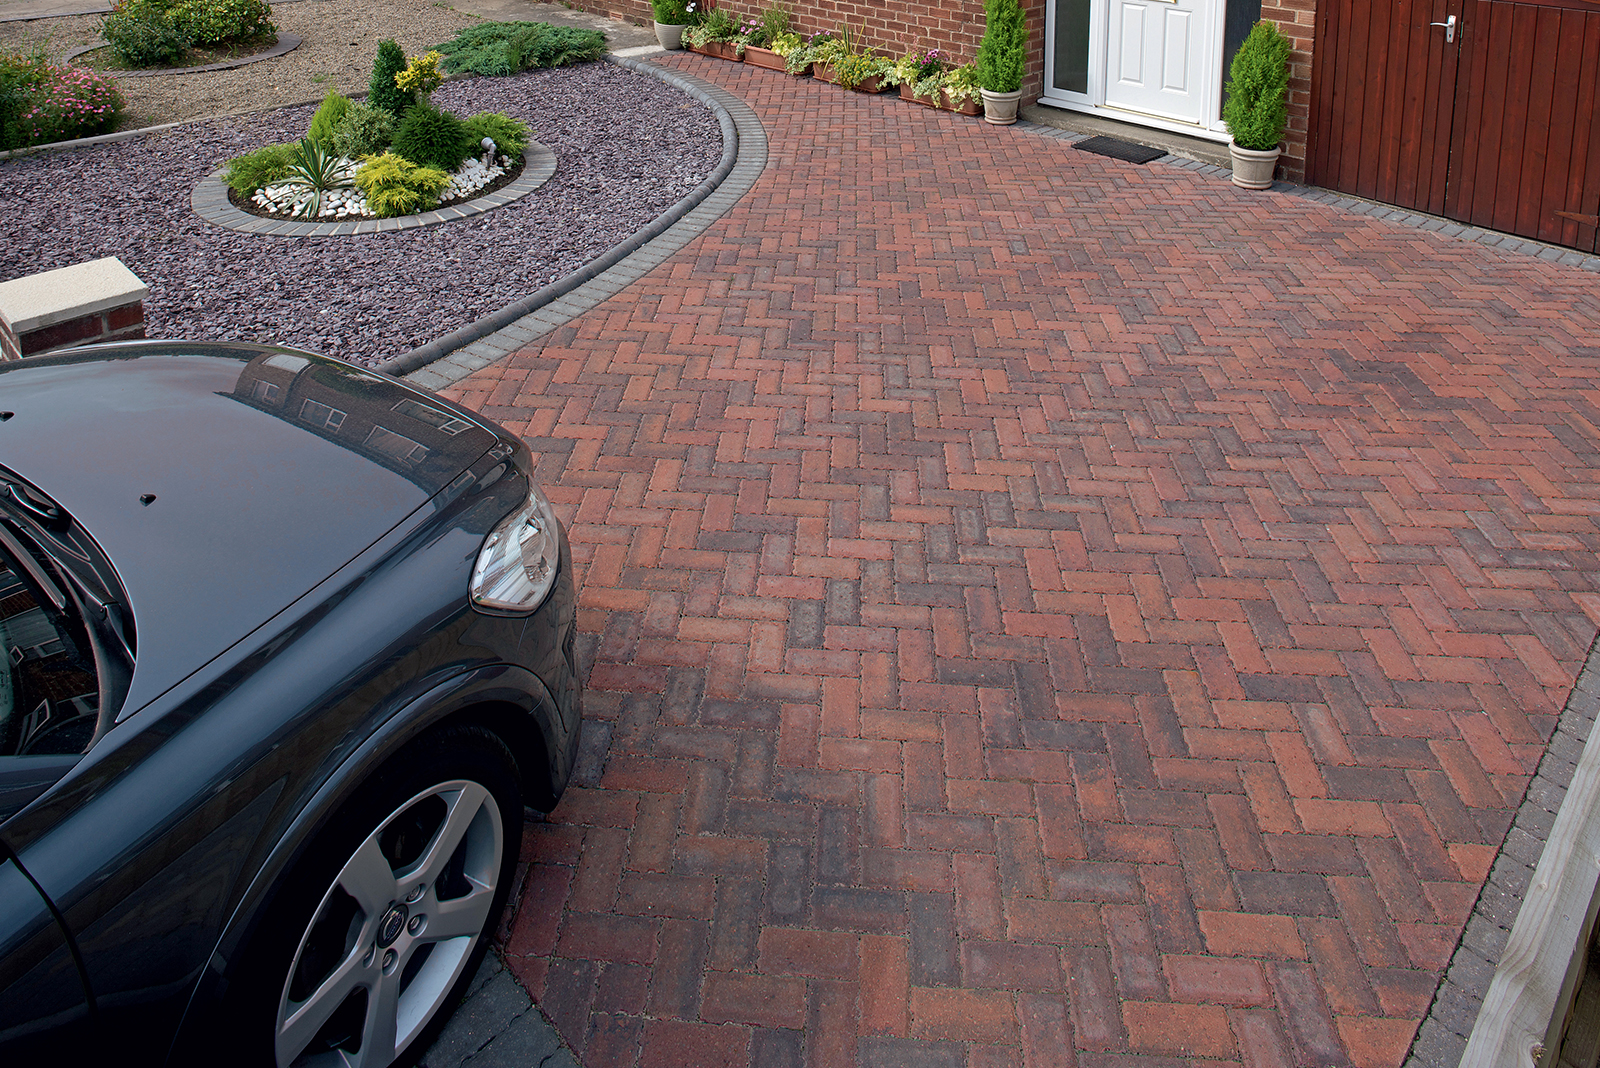
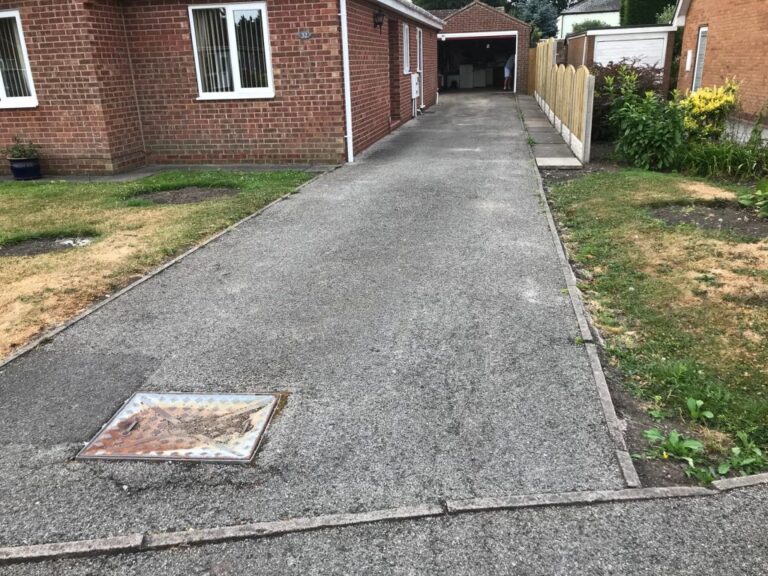
Installing a new driveway is an exciting project that can enhance the overall appearance and functionality of your property.
However, before the installation process begins, it’s important to ensure your property is properly prepared.
Taking the necessary steps before work starts can help ensure a smooth installation and prevent unexpected costs or complications along the way.
Here’s a comprehensive checklist to help you prepare your home for a successful driveway installation.
1. Clear the Area
The first and most obvious step in preparing for driveway installation is to clear the area where the driveway will be laid. This means removing any obstacles, such as plants, trees, or structures, that might interfere with the installation process.
What to do:
- Remove plants, shrubs, and trees: If there are any plants or trees in the way, you’ll need to remove them before the installation begins. Be sure to dig out any roots to prevent future growth that could interfere with the driveway.
- Clear debris: Sweep up any leaves, sticks, or other debris that may have accumulated in the area. This will ensure a clean surface for the installation team to work with.
- Move vehicles: Make sure to move any cars, trailers, or other vehicles out of the driveway area so the installers have easy access to the site.
Clearing the area will give your contractors plenty of space to work and help them avoid any unnecessary delays.
2. Check for Underground Utilities
One of the most crucial steps in preparing for driveway installation is ensuring that you’re aware of any underground utilities that may be running beneath your property. These could include water, gas, electricity, or sewer lines. Damaging these lines during the installation could result in costly repairs and delays.
What to do:
- Contact your local utility companies: Before work begins, contact the appropriate utility companies to request a map of the utilities beneath your property. In many areas, there are services available to mark underground utilities for you.
- Avoid digging too deep: If you’re planning any excavation work yourself, make sure you’re not digging too deep in areas where utilities are located. This can help avoid accidental damage during preparation.
By ensuring that all utilities are properly marked and accounted for, you can prevent costly damage and complications during the installation process.
3. Measure the Space
It’s essential to have accurate measurements of the space where your driveway will be installed. This ensures that the driveway fits the desired space and prevents any surprises later on.
What to do:
- Measure the width and length of the area to ensure the driveway fits within the designated space. The dimensions will help you determine how much material you’ll need and will guide the contractor in laying out the driveway properly.
- Check for any slopes: If your property has a sloping driveway, this will affect the design and drainage. Make sure your contractor is aware of any sloping areas so they can make adjustments for proper drainage.
Having accurate measurements will also help avoid mistakes during the design and installation phases, ensuring the final result meets your expectations.
4. Ensure Proper Drainage
Proper drainage is critical for the long-term durability of your driveway. Without adequate drainage, water can pool on your driveway, leading to cracks and erosion over time. Ensuring proper drainage helps protect your driveway from damage and keeps it looking good for years to come.
What to do:
- Check for water flow: Before the installation begins, check how water flows around the area where your driveway will be laid. Water should naturally flow away from your house and into designated drainage areas.
- Discuss drainage options with your contractor: If your property has drainage issues or if you’re concerned about water pooling, be sure to discuss drainage solutions with your contractor. They may recommend installing a French drain, trench drain, or permeable paving to manage water effectively.
Adequate drainage is essential for preventing costly repairs and ensuring your driveway stands up to the elements.
5. Choose the Right Material
Selecting the right material for your driveway is one of the most important decisions you’ll make during the installation process. The material you choose will affect the driveway’s durability, maintenance needs, and aesthetic appeal.
What to do:
- Research materials: Take time to research the different driveway materials available, such as tarmac, block paving, gravel, or resin. Consider factors like cost, maintenance, appearance, and how well the material suits your property.
- Consult with a contractor: Once you’ve narrowed down your options, consult with a professional contractor to discuss your preferences and the best materials for your needs. A contractor can help you understand which materials will be most durable for your climate and property type.
Choosing the right material will ensure that your driveway lasts longer and adds to your property’s value.
6. Set a Realistic Budget
Driveway installation can vary greatly in cost depending on the material chosen, the size of the driveway, and the complexity of the job. Setting a realistic budget upfront ensures you’re not surprised by additional costs during the installation process.
What to do:
- Get multiple quotes: Contact a few contractors to get quotes for your driveway installation. This will give you an idea of the cost range for your specific project.
- Include extra costs: Be sure to account for potential extras like drainage systems, edging, or landscaping that may be needed to complete your driveway.
By setting a clear budget, you’ll avoid any unexpected financial surprises and ensure you’re able to get the driveway you want within your means.
7. Review Local Regulations
Lastly, before installing your new driveway, it’s essential to check any local regulations that might affect your project. Some areas require permits for driveway installation, especially if you’re altering existing structures or changing the size of your driveway.
What to do:
- Check with your local council: Contact your local council to inquire about any zoning laws, permits, or regulations that may apply to your driveway installation. This is especially important if you’re making significant changes to the driveway area.
- Consider sustainable drainage requirements: In some areas, you may need to install a permeable surface or implement sustainable drainage systems (SuDS) to manage water runoff. Check local building codes to ensure compliance.
By reviewing local regulations, you’ll avoid fines and ensure your driveway installation meets all legal requirements.
Preparing your property for driveway installation requires careful planning and attention to detail.
From clearing the area and checking for underground utilities to selecting the right material and setting a realistic budget, taking these steps will help ensure a smooth and successful installation.
By following this checklist, you can be confident that your new driveway will enhance your property’s appearance, value, and functionality for years to come.


