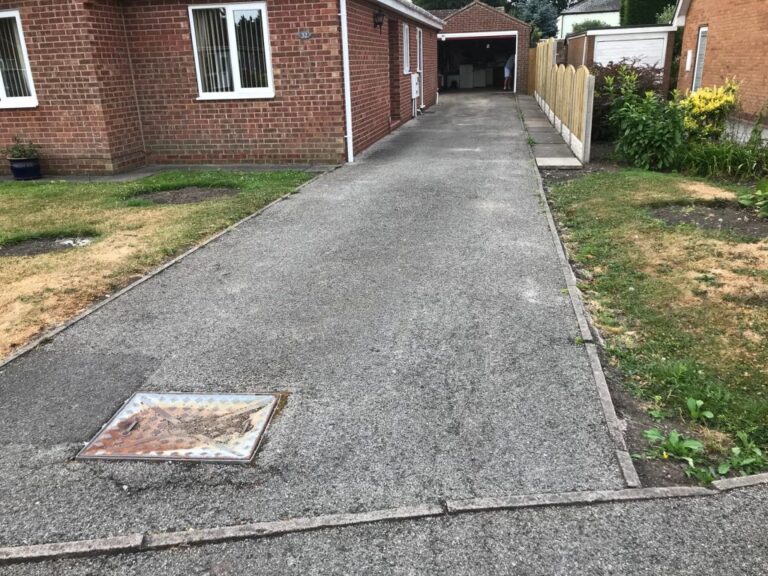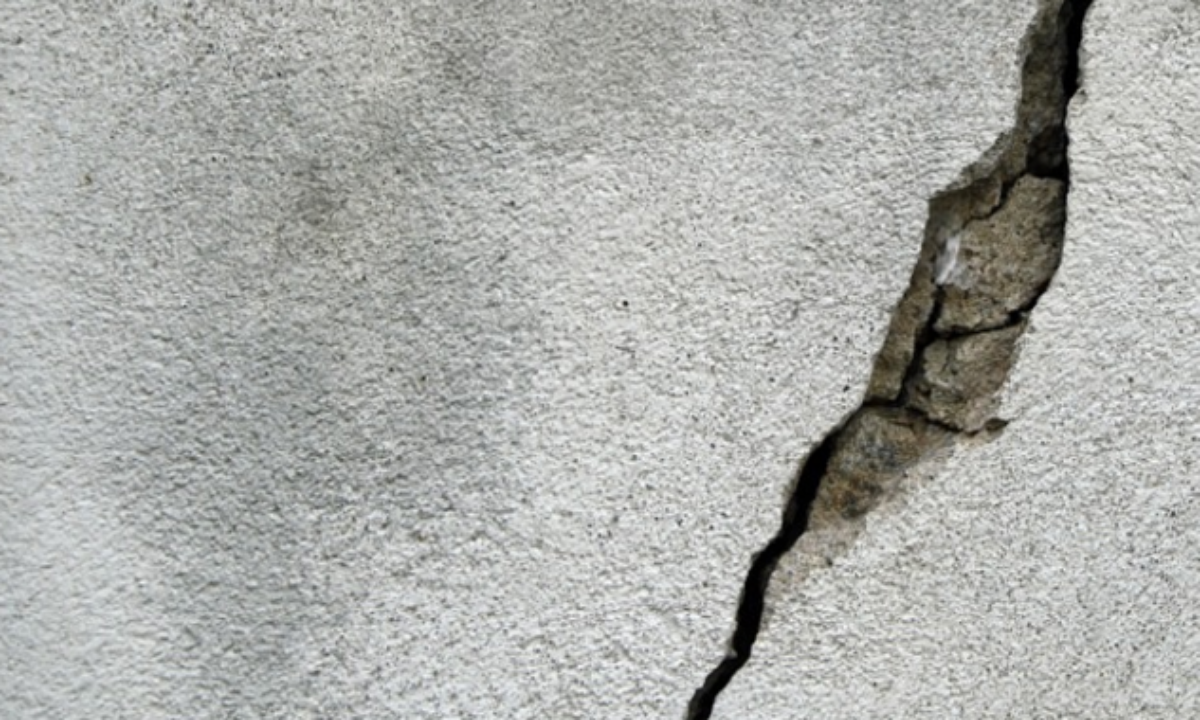
Over time, driveways can develop cracks and holes due to a variety of factors such as weather conditions, regular wear and tear, or poor installation.
While some minor damage is inevitable, it’s important to address these issues promptly to prevent further deterioration and maintain the appearance and safety of your driveway.
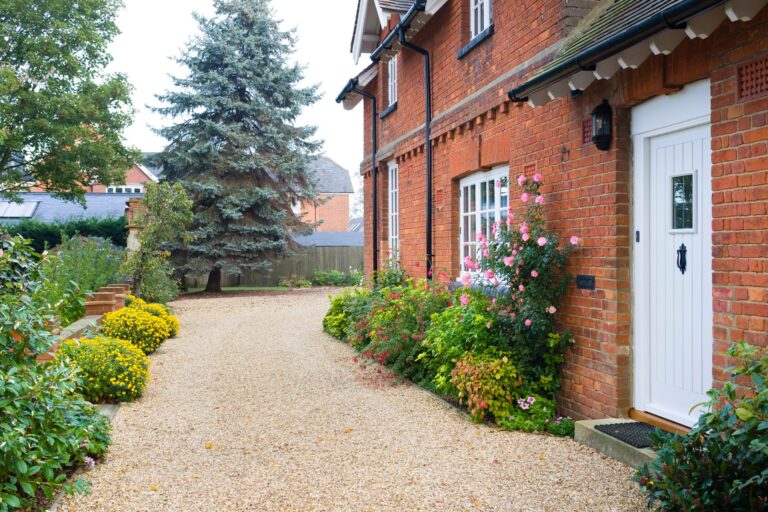
Whether you have a tarmac, block paving, concrete, or gravel driveway, knowing how to handle cracks and holes will help you avoid costly repairs in the future.
In this guide, we’ll take a look at the practical steps you can take for DIY repairs and when it’s time to call in a professional.
Identifying the Cause of Damage
Before jumping into repairs, it’s crucial to understand the root cause of the damage. Cracks and holes can occur for various reasons, and identifying the cause will help you determine the best course of action for repairs.
- Weather Damage: Freezing and thawing cycles can cause materials like tarmac and concrete to crack as the water in the surface expands and contracts.
- Heavy Traffic: Frequent use, especially by heavy vehicles, can cause materials to break down over time, leading to cracks and holes.
- Poor Installation: If your driveway was not properly prepared or installed, it may be more prone to cracking and developing holes.
- Water Drainage Issues: Poor drainage can cause water to pool, seeping into the surface and weakening the structure, which leads to cracks and erosion.
Once you’ve identified the cause, you can begin addressing the damage accordingly.
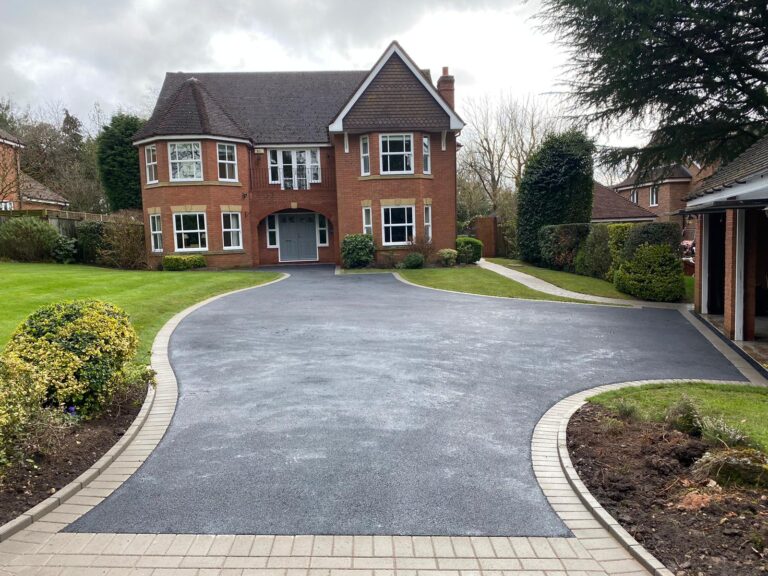
DIY Repairs for Tarmac Driveways
Tarmac driveways are prone to cracks and holes, but they are relatively easy to repair. Here’s a step-by-step guide for repairing minor cracks and holes on your own:
For Cracks:
- Clean the Area: Use a broom or a pressure washer to remove debris, dirt, and weeds from the crack.
- Prepare the Crack: Widen the crack slightly using a chisel or scraper to help the filler material adhere better. Ensure the area is dry before proceeding.
- Apply Crack Filler: Use a cold-patch tarmac filler or a crack filler specifically designed for tarmac surfaces. Pour or squeeze the filler into the crack and smooth it out with a trowel.
- Compact the Filler: Use a rubber mallet to gently tap the area, ensuring the filler is compacted and level with the rest of the surface.
- Allow to Set: Follow the manufacturer’s instructions for curing time. Generally, it’s advisable to avoid driving on the repaired area for 24-48 hours.
For Holes:
- Clean and Prepare: Remove any loose material from the hole using a scraper or shovel. Clean the surrounding area with a pressure washer.
- Fill the Hole: Use a tarmac patching compound or cold-patch material to fill the hole. Spread it evenly and ensure it’s slightly higher than the surrounding surface.
- Compact the Material: Use a tamper or a piece of wood to compact the patch, making sure it is firm and level.
- Smooth the Surface: Use a trowel to smooth the surface of the repair and make it level with the rest of the driveway.
DIY Repairs for Concrete Driveways
Concrete driveways can develop cracks and holes over time, but repairs are straightforward if done properly. Follow these steps to repair small cracks or holes in a concrete driveway:
For Cracks:
- Clean the Crack: Use a wire brush or pressure washer to remove any debris or dirt from the crack.
- Prepare the Crack: Use a chisel or hammer to remove any loose or crumbling concrete from the crack. Ensure the area is dry.
- Apply Concrete Patch: Use a concrete patching compound or caulk to fill the crack. For larger cracks, a concrete filler may be needed. Smooth it with a putty knife.
- Smooth and Finish: After the filler has dried, smooth it with sandpaper to blend it with the surrounding surface.
For Holes:
- Clean the Hole: Remove any loose material and debris from the hole using a brush or vacuum.
- Fill the Hole: Use a concrete patching compound to fill the hole. Apply it in layers if necessary, allowing each layer to dry before adding the next.
- Smooth the Surface: Use a trowel to smooth the patch and make it level with the surrounding area. Allow the patch to cure for at least 24 hours before driving over it.
When to Call in the Professionals
While DIY repairs are often sufficient for minor cracks and holes, there are situations where it’s best to call in a professional:
- Extensive Damage: If the cracks or holes are widespread or large, it’s a good idea to consult a professional, as repairing large areas may require resurfacing or replacing sections of the driveway.
- Subsurface Issues: If the damage is caused by drainage issues, subsidence, or poor installation, a professional will be able to address the root cause and make repairs that prevent further problems.
- Concrete or Tarmac Resurfacing: If the surface of your driveway is severely damaged or worn, resurfacing may be necessary. This requires specialised equipment and expertise.
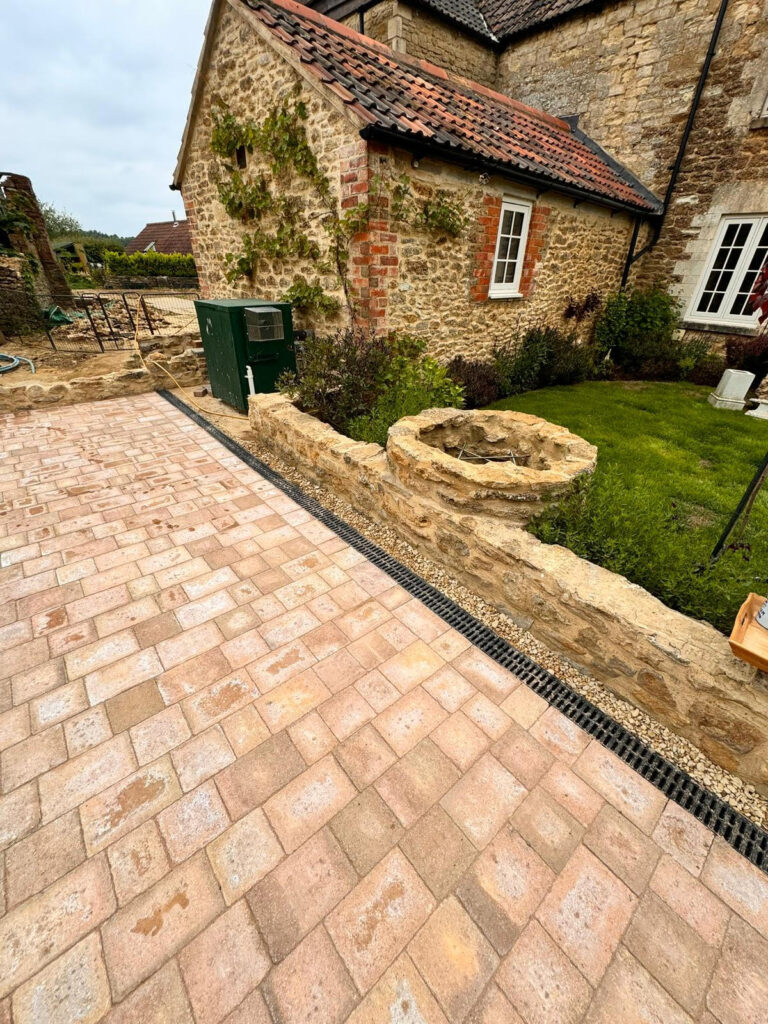
- Driveways with Multiple Layers: If your driveway has multiple layers or a complex design, such as block paving, it may require professional attention to ensure the repairs are properly executed.
Cracks and holes in your driveway are a common issue that can be managed with the right approach.
For minor cracks and holes, DIY repairs are often sufficient and cost-effective.
However, it’s important to address any damage promptly to prevent further deterioration.
Regular maintenance and proper drainage solutions can also help prevent damage from occurring in the first place.
For extensive damage or underlying issues, don’t hesitate to call in a professional to ensure the job is done properly and your driveway remains in top condition for years to come.